
Toyota Camry (XV70): Components
COMPONENTS
ILLUSTRATION
.png)
|
*1 | BATTERY CLAMP SUB-ASSEMBLY |
- | - |
.png) |
N*m (kgf*cm, ft.*lbf): Specified torque |
- | - |
ILLUSTRATION
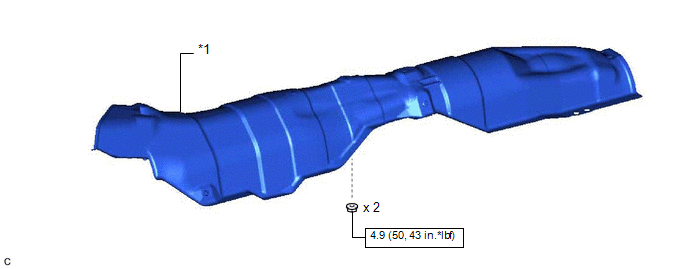
|
*1 | FRONT LOWER NO. 1 FLOOR HEAT INSULATOR |
- | - |
|
|
N*m (kgf*cm, ft.*lbf): Specified torque |
- | - |
ILLUSTRATION
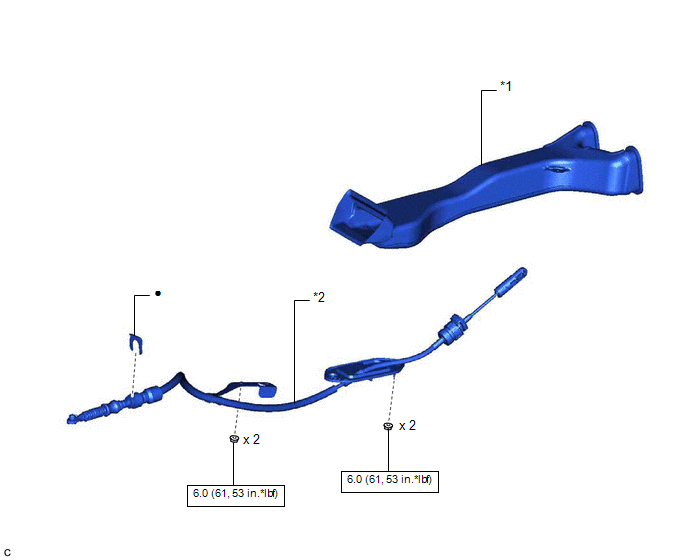
|
*1 | NO. 1 CONSOLE BOX DUCT |
*2 | TRANSMISSION CONTROL CABLE ASSEMBLY |
|
|
N*m (kgf*cm, ft.*lbf): Specified torque |
● | Non-reusable part |
READ NEXT:
 Removal
REMOVAL CAUTION / NOTICE / HINT
The necessary procedures (adjustment, calibration, initialization or registration) that must be performed after parts are removed and installed, or replaced during tr
Adjustment
ADJUSTMENT PROCEDURE 1. SECURE VEHICLE
(a) Fully apply the parking brake and chock a wheel.
CAUTION:
Make sure to apply the parking brake and chock a wheel before performing this procedure.
Installation
INSTALLATION PROCEDURE 1. INSTALL TRANSMISSION CONTROL CABLE ASSEMBLY
(a) Pass the transmission control cable assembly into the vehicle and install the transmission control cable assembly to the veh
SEE MORE:
Removal
REMOVAL PROCEDURE 1. REMOVE NO. 1 METER HOOD CLUSTER
Click here
2. REMOVE LOWER INSTRUMENT PANEL FINISH PANEL ASSEMBLY Click here
3. REMOVE ENGINE SWITCH
(a) Disengage the 2 claws and remove the engine switch from lower instrument panel finish panel assembly.
Dtc Check / Clear
DTC CHECK / CLEAR CHECK DTC (CHECK USING TECHSTREAM)
(a) Connect the Techstream to the DLC3. (b) Turn the engine switch on (IG) and wait for 90 seconds.
(c) Turn the Techstream on. (d) Enter the following menus: Body Electrical / Navigation System / Trouble Codes. Body Electrical > Navigation
© 2023-2026 Copyright www.tocamry.com
