
Toyota Camry (XV70): Components
COMPONENTS
ILLUSTRATION
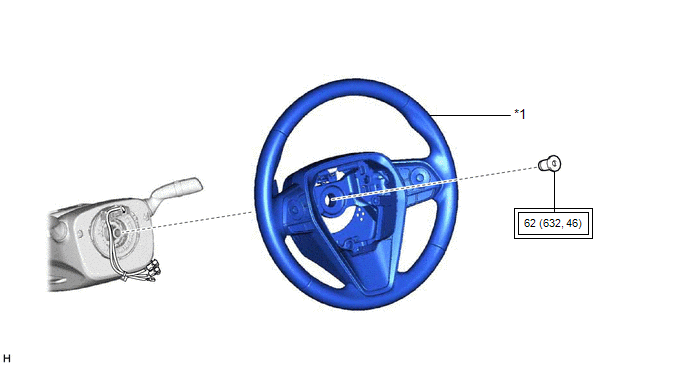
|
*1 | STEERING WHEEL ASSEMBLY |
- | - |
 |
Tightening torque for "Major areas involving basic vehicle performance such as moving/turning/stopping" : N*m (kgf*cm, ft.*lbf) |
- | - |
ILLUSTRATION
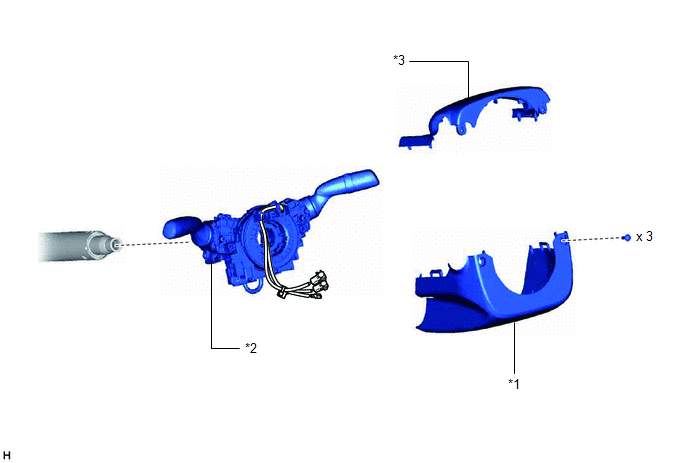
|
*1 | LOWER STEERING COLUMN COVER SUB-ASSEMBLY |
*2 | TURN SIGNAL SWITCH ASSEMBLY WITH SPIRAL CABLE SUB-ASSEMBLY |
|
*3 | UPPER STEERING COLUMN COVER |
- | - |
ILLUSTRATION
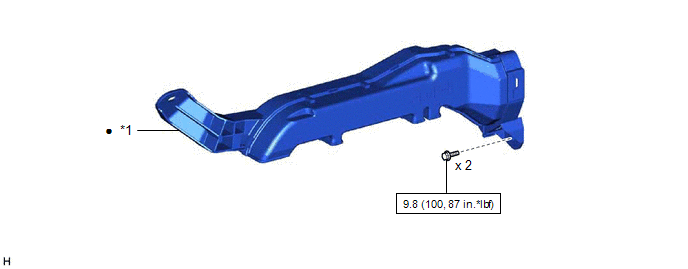
|
*1 | NO. 1 AIR DUCT |
- | - |
 |
N*m (kgf*cm, ft.*lbf): Specified torque |
● | Non-reusable part |
ILLUSTRATION
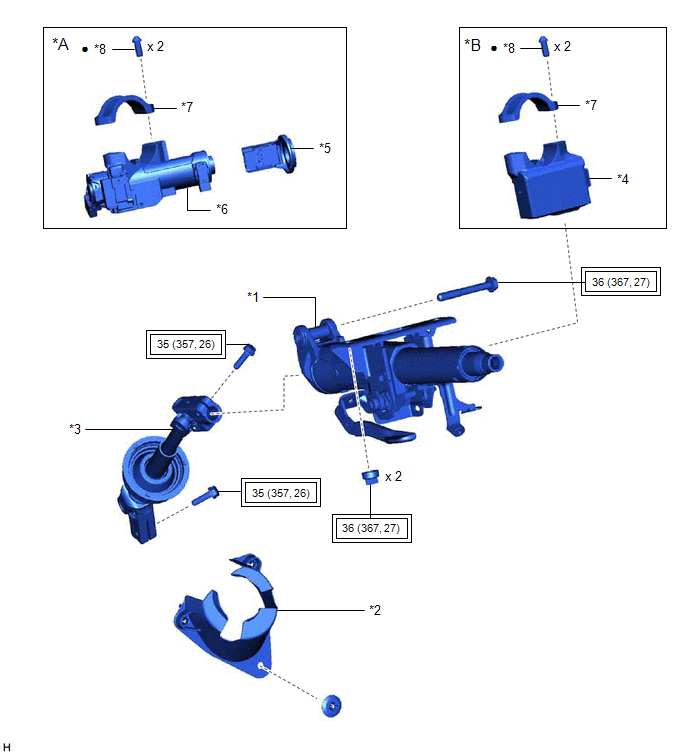
|
*A | w/o Smart Key System |
*B | w/ Smart Key System with Steering Lock Actuator Assembly |
|
*1 | STEERING COLUMN ASSEMBLY |
*2 | STEERING COLUMN HOLE COVER |
|
*3 | STEERING INTERMEDIATE SHAFT ASSEMBLY |
*4 | STEERING LOCK ACTUATOR ASSEMBLY |
|
*5 | TRANSPONDER KEY COIL |
*6 | UPPER STEERING COLUMN BRACKET WITH SWITCH ASSEMBLY |
|
*7 | UPPER STEERING COLUMN CLAMP |
*8 | STEERING LOCK SET BOLT |
|
|
Tightening torque for "Major areas involving basic vehicle performance such as moving/turning/stopping" : N*m (kgf*cm, ft.*lbf) |
● | Non-reusable part |
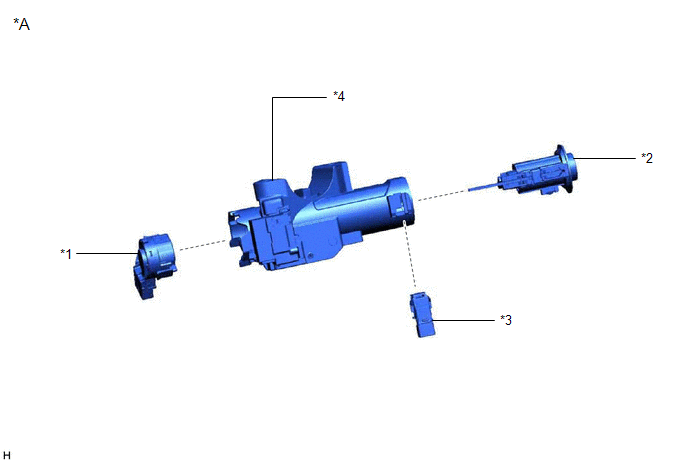
ILLUSTRATION
|
*A | w/o Smart Key System |
- | - |
|
*1 | IGNITION OR STARTER SWITCH ASSEMBLY |
*2 | IGNITION SWITCH LOCK CYLINDER ASSEMBLY |
|
*3 | UN-LOCK WARNING SWITCH ASSEMBLY |
*4 | UPPER STEERING COLUMN BRACKET ASSEMBLY |
READ NEXT:
 Removal
REMOVAL CAUTION / NOTICE / HINT
The necessary procedures (adjustment, calibration, initialization, or registration) that must be performed after parts are removed and installed, or replaced during
Disassembly
DISASSEMBLY CAUTION / NOTICE / HINT
NOTICE: w/ Smart Key System with Steering Lock Actuator Assembly:
Before replacing the steering lock actuator assembly, refer to Registration.
Click here
Inspection
INSPECTION PROCEDURE 1. INSPECT STEERING COLUMN ASSEMBLY
(a) Check that the 2 bushings are securely installed to the steering column assembly.
If the bushings are deformed, missing or damag
SEE MORE:
Installation
INSTALLATION PROCEDURE 1. INSTALL STUD BOLT
HINT: If a stud bolt is deformed or the threads are damaged, replace it.
(a) Using an E6 "TORX" socket wrench, install the 2 stud bolts to the intake manifold.
Torque: 10 N·m {102 kgf·cm, 7 ft·lbf}
2. INSTALL NO. 1 INTAKE M
Installation
INSTALLATION CAUTION / NOTICE / HINT
HINT:
Use the same procedure for the RH side and LH side.
The following procedure is for the LH side.
PROCEDURE 1. INSTALL REAR DOOR INSIDE LOCKING CABLE ASSEMBLY
(a) Install the rear door inside locking cable assembly as shown in the illustration.
